Windowsに以前から標準アプリとしてインストールされている「ペイント」、簡単な絵を描く程度の機能しかなくできることが限られていた為に画像の編集には向かず他のアプリを使用する事が多かったと思います。
確かにあまり使ったことが無いですね・・・
私も「以前までは」そうでした。
実はペイントは現在アップデートされて機能が追加され活用の幅が広がりました。正直以前とは全く別物になったと感じますね!
えぇ!?
ペイントはWindows11 23H2のアップデートによって「背景の削除」と「レイヤー機能」が追加され他のアプリにも引けを取らない本格的な画像の編集が出来るようになりました。
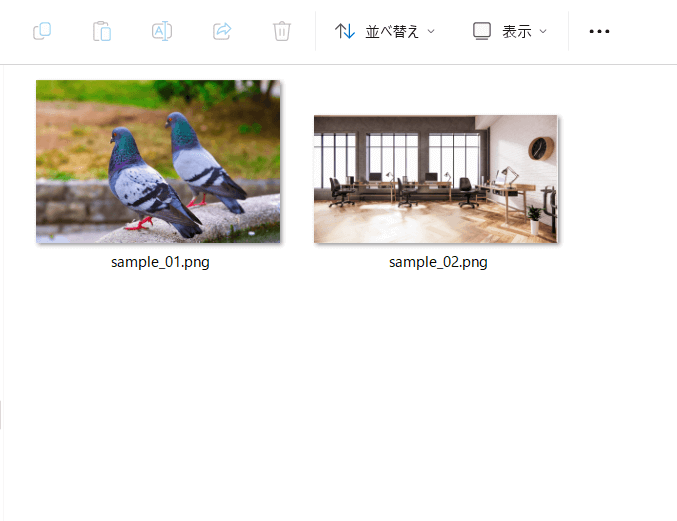
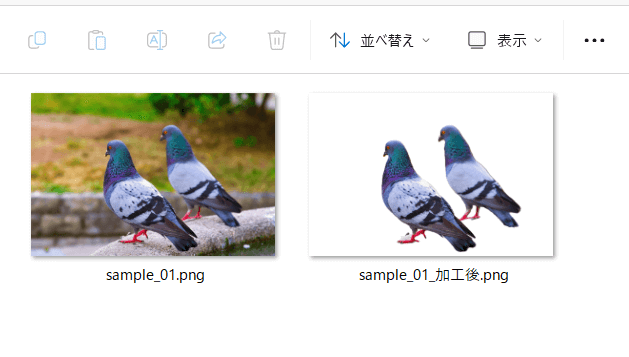
本記事はこのペイントの2つの機能について次の画像を使い解説します。
- ペイントの「背景の削除」と「レイヤー機能」の使い方が分かる。
- 標準アプリで本格的な画像の編集ができる。

ペイントの「背景の削除」による画像加工
ペイントでは画像の背景を削除できるようになり、次の2ステップで実行できます。
- 背景を消したい画像をペイント上で表示
- 「イメージ」メニュー内にある「背景の削除」をクリック
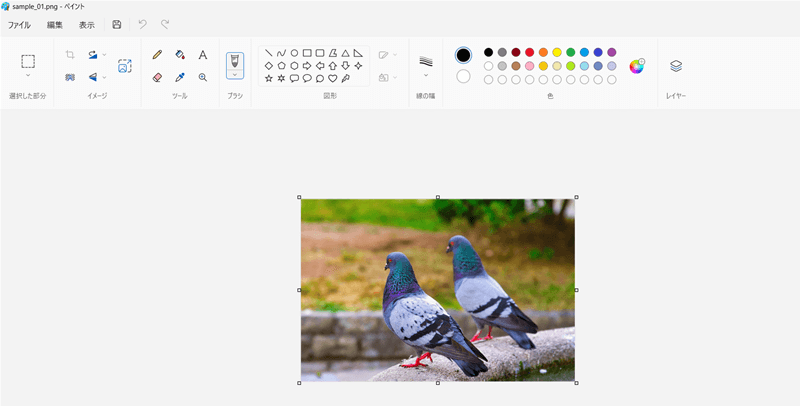
背景を消したい画像をペイント上で表示
最初にペイントへ背景を消したい画像を表示します。
「イメージ」メニュー内にある「背景の削除」をクリック
「イメージ」メニュー内にある「背景の削除」をクリック。
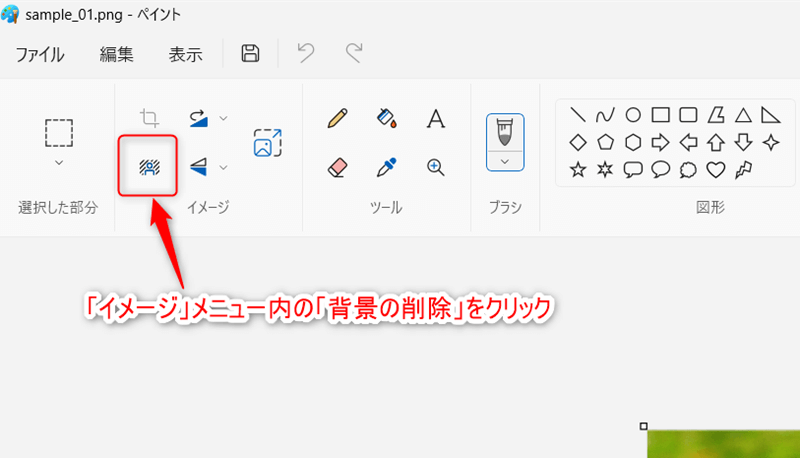
「背景の削除」が実行されると背景を自動判別し、画像からキレイに削除してくれます。
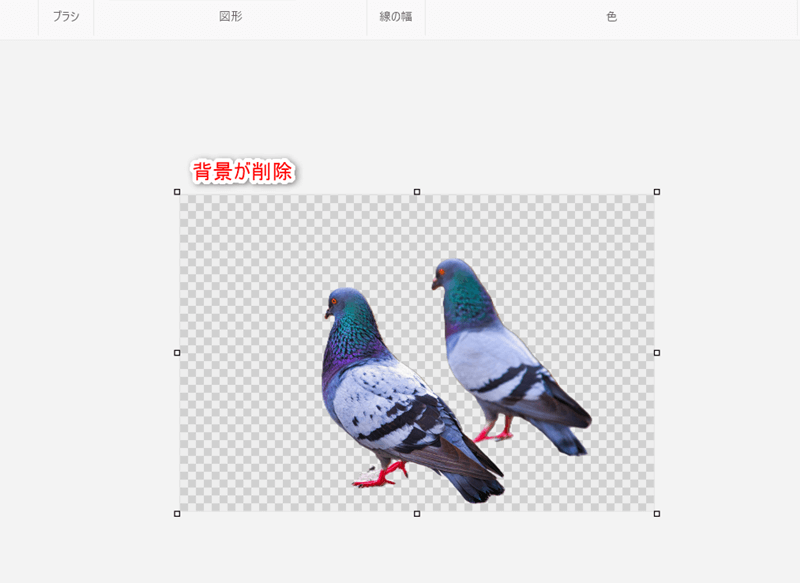
すごい!1クリックで背景が消せました!!
なお削除された背景は透過になり、他の画像と組合せやすくなります。
ペイントの「レイヤー機能」による画像の合成
ペイントの「レイヤー機能」を使用することでそれぞれのレイヤー毎に画像を扱えるようになり、画像の合成が可能となります。
この機能も便利そう!
早速レイヤー機能を使って先程加工した画像に別の背景を合成してみましょう!
- メニュー内の「レイヤー」をクリックし、レイヤーの一覧を表示
- レイヤーに画像を追加
- 画像の表示位置や配置を編集
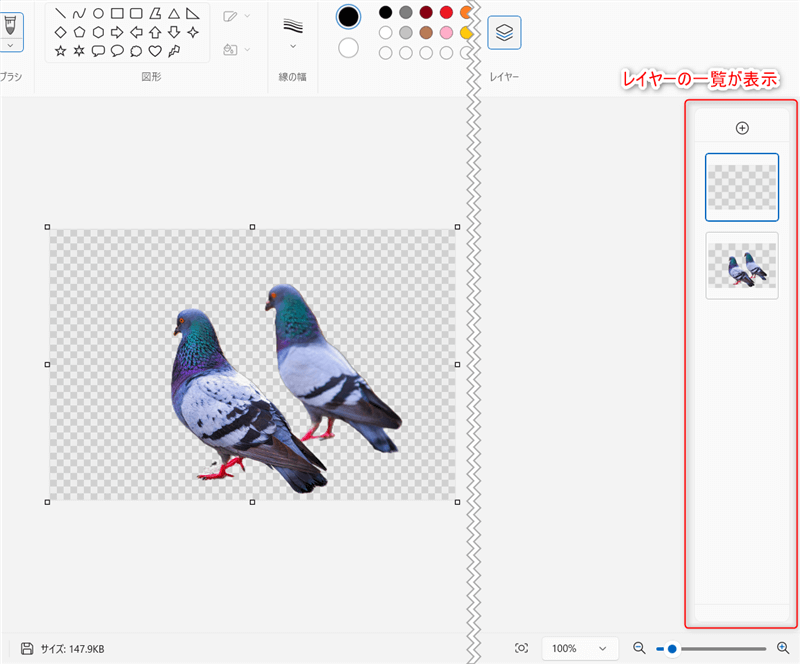
メニュー内の「レイヤー」をクリックし、レイヤーの一覧を表示
メニュー内の「レイヤー」をクリック

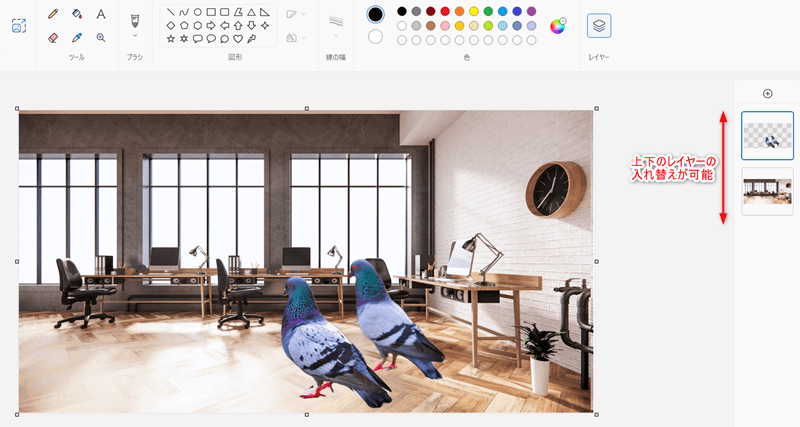
画面の右側に現在表示しているレイヤーの一覧が表示されます。
レイヤーに画像を追加
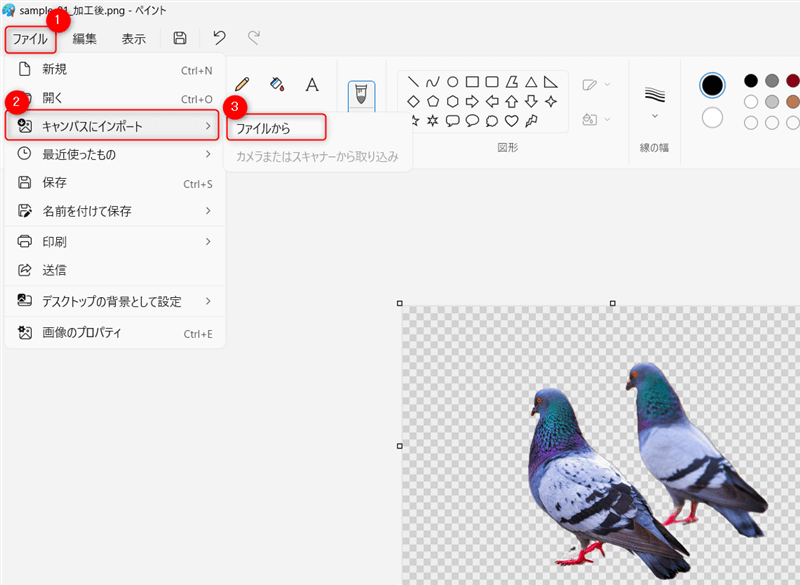
扱うレイヤーを選択した状態でメニューより①「ファイル」⇒②「キャンバスにインポート」⇒③「ファイルから」を選択し、追加する画像を表示させます。
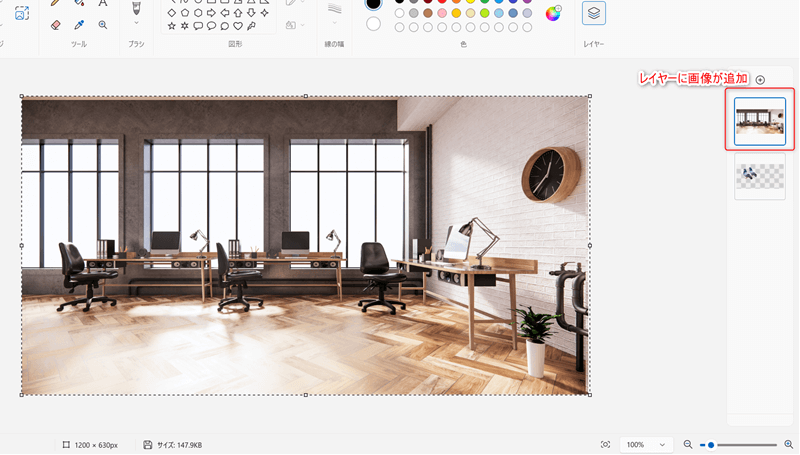
実行後、先程は何も表示されていなかったレイヤーに画像が追加されます。
画像の表示位置や配置を編集
必要な画像を追加後、それぞれのレイヤー毎に画像の表示位置やレイヤーの一覧の上下を入れ替える事で画像の配置を変えていき編集します。
キレイに画像合成出来ましたね!
終わりに
以上で今回の解説を終了します。
Windows11 23H2のアップデートによりペイントは「背景の削除」と「レイヤー機能」が追加され、以前とは比べられない程進化を遂げ本格的な編集を行える様になりました。
ペイントは標準アプリで誰でも手軽に扱えるので、画像編集の際には積極的に使ってみることをオススメします!
またWindows11にはこの他にも次の便利な機能があるので興味のある方はそちらも試してみて下さい。